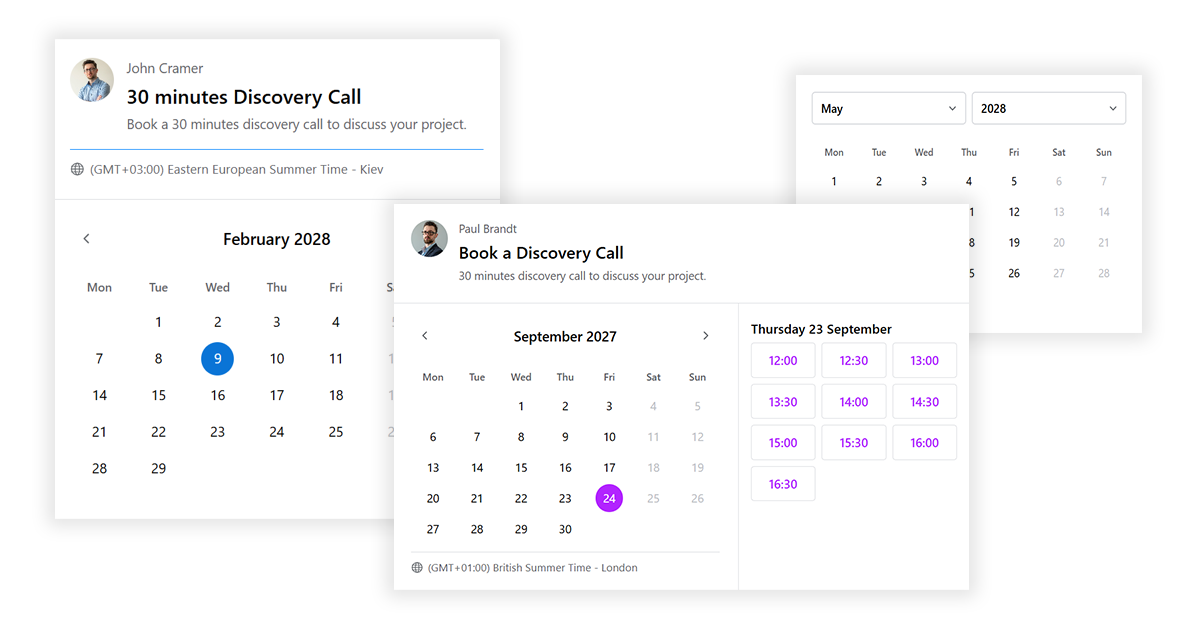
Out of the box, the CalNative booking widget uses a clean Google-style design: white background, blue accent, Open Sans, gently rounded corners. That default works well on a lot of sites. But if your theme has a dark background, a specific brand colour, a strong typographic identity, or a sharper or softer aesthetic, you will want the widget to follow it — not contrast with it.
The widget is built on CSS custom properties (variables). That means most visual changes are a single line per property, without needing to override deeply nested selectors or fight specificity. This guide walks through the full system — what each variable controls, the class names available for direct targeting, and practical examples for common theme styles.
What this guide covers
- Where to add custom CSS (two options)
- The full list of CSS variables and what they control
- Practical examples: dark theme, minimal white, brand colour, narrow layout
- Targeting specific elements with class names
- Using browser DevTools to inspect the widget
Where to add custom CSS
There are two places to put custom CSS for the widget.
Option 1 — the Custom CSS field in plugin settings. Go to Settings → CalNative Booking → Styling and scroll to the Custom CSS textarea at the bottom. CSS entered here is appended directly after the plugin’s own stylesheet, so it loads on pages that have the widget and nowhere else. This is the cleanest option.
Option 2 — your theme’s stylesheet or Additional CSS. You can also add CSS to your theme’s style.css, a child theme stylesheet, or WordPress’s built-in Appearance → Customize → Additional CSS panel. Any of these work — they load site-wide, which is a minor inefficiency, but has no functional impact.
The plugin’s Custom CSS field is recommended because it keeps widget styles in one place and does not interfere with your theme’s own stylesheet.
The CSS variable system
All widget variables are set on the .calnative-booking-widget root element. To override any of them, re-declare them on the same selector in your custom CSS. Your declaration will take precedence.
Here is the full list of variables, their defaults, and what they control:
| Variable | Default | Controls |
|---|---|---|
--calnative-primary | #1a73e8 | Selected date, today’s date, form field focus underline, floating labels, timezone bar accent, success icon |
--calnative-btn-bg | #1a73e8 | Submit button background; time slot button hover background |
--calnative-btn-text | #ffffff | Submit button text colour |
--calnative-btn-hover-bg | #1557b0 | Submit button hover background; calendar navigation arrow hover background |
--calnative-btn-hover-text | #ffffff | Submit button hover text colour |
--calnative-bg | #ffffff | Widget background; form input background on focus; time slot button resting background |
--calnative-text | #3c4043 | All main text: month label, day numbers, date heading, form inputs, booking title |
--calnative-font | "Open Sans", sans-serif | Font family for the entire widget |
--calnative-fs-base | 14px / 16px / 18px | Base font size (small/medium/large set in plugin settings; override here if needed) |
--calnative-radius | 16px | Border radius of the outer widget container |
--calnative-max-width | 600px | Maximum width of the widget |
Most of these variables can also be set through the Styling panel in plugin settings without touching CSS — primary colour, button colours, background, text colour, font, border radius, and max width all have fields there. The Custom CSS approach is for anything beyond those controls, or for overriding specific elements rather than global variables.
Example: dark background theme
If your site uses a dark or near-black background, the widget’s white default will create a jarring white box. Override the background and text variables to match:
.calnative-booking-widget {
    --calnative-bg:           #1e1e1e;
    --calnative-text:         #e8eaed;
    --calnative-primary:      #8ab4f8;
    --calnative-btn-bg:       #8ab4f8;
    --calnative-btn-text:     #1e1e1e;
    --calnative-btn-hover-bg: #aecbfa;
    --calnative-btn-hover-text: #1e1e1e;
}
The divider lines inside the widget use a hardcoded #dadce0 colour — fine on white, too light to see on dark. Override them with a direct selector:
.calnative-booking-widget .calnative-host,
.calnative-booking-widget .calnative-dayslots-cal {
    border-color: #3c4043;
}
Example: minimal white theme with sharp corners
If your theme is clean and minimal — no shadows, sharp corners, neutral palette — remove the rounding and add a light border so the widget has a defined edge without a card-style appearance:
.calnative-booking-widget {
    --calnative-radius: 0px;
    --calnative-primary:      #111111;
    --calnative-btn-bg:       #111111;
    --calnative-btn-hover-bg: #333333;
    border: 1px solid #e0e0e0;
}
Example: matching a specific brand colour
If your brand has a specific primary colour — a terracotta, a forest green, a deep navy — apply it to the accent and button variables. Just make sure the button text colour contrasts sufficiently against it:
/* Forest green example */
.calnative-booking-widget {
    --calnative-primary:        #2d6a4f;
    --calnative-btn-bg:         #2d6a4f;
    --calnative-btn-text:       #ffffff;
    --calnative-btn-hover-bg:   #1b4332;
    --calnative-btn-hover-text: #ffffff;
}
The --calnative-primary variable drives the selected date circle, the form field focus underlines, the floating labels, and the success confirmation icon — so changing it one place updates the entire accent colour throughout the widget.
Example: narrow widget for a sidebar or column layout
The widget’s default max width is 600px, which suits a centred full-width content column. If you are placing it in a sidebar, a two-column layout, or a narrow page section, reduce the max width:
.calnative-booking-widget {
    --calnative-max-width: 380px;
}
You can also set this per shortcode without CSS:
[calnative_booking max_width="380"]Example: using your theme’s font
The widget defaults to Open Sans. If your theme loads a different font — Inter, Lato, Playfair Display, or a custom font — you can inherit it rather than loading a second one:
.calnative-booking-widget {
    --calnative-font: inherit;
}
Using inherit pulls the font from the parent element, which in most themes will be the body font. If your theme uses CSS variables for its own font stack, you can reference those directly:
.calnative-booking-widget {
    --calnative-font: var(--wp--preset--font-family--primary);
}
Targeting specific elements directly
For changes that go beyond the variable system — adjusting padding, hiding an element, changing the time slot button shape — use the widget’s class names directly. The main ones you are likely to need:
| Class | Element |
|---|---|
.calnative-booking-widget | Root container |
.calnative-host | Header section (name, title, description) |
.calnative-booking-title | Session title text |
.calnative-host-initials | Avatar circle shown when no photo is set |
.calnative-day--selected | Currently selected date in the calendar |
.calnative-day--today | Today’s date in the calendar |
.calnative-slot-btn | Individual time slot buttons |
.calnative-submit | The confirm booking / submit button |
.calnative-field input | Form text inputs |
.calnative-field textarea | The message / notes textarea |
.calnative-timezone | Timezone indicator row at the bottom of the calendar |
For example, to make time slot buttons use a pill shape instead of the default rectangular style:
.calnative-booking-widget .calnative-slot-btn {
    border-radius: 999px;
}
Using browser DevTools to inspect the widget
If you want to target an element that is not listed above, the fastest approach is to inspect it directly in your browser:
- Open your booking page in a browser
- Right-click on the element you want to change and select Inspect
- In the Elements panel, look at the class names on the highlighted element — all widget classes start with
calnative- - In the Styles panel on the right, you can see exactly which CSS properties are applied and which variables they resolve to
- Edit values directly in the browser to preview changes, then copy the working rule into your Custom CSS field
All widget classes are prefixed with calnative- and none of them conflict with standard WordPress or WooCommerce class names, so specificity is rarely an issue. If a rule is not applying, wrapping it in .calnative-booking-widget as a parent selector almost always resolves it.
Putting it together
A complete custom CSS block for a dark, minimal theme with a green accent might look like this:
.calnative-booking-widget {
    --calnative-bg:             #1a1a1a;
    --calnative-text:           #e8eaed;
    --calnative-primary:        #4caf7d;
    --calnative-btn-bg:         #4caf7d;
    --calnative-btn-text:       #1a1a1a;
    --calnative-btn-hover-bg:   #3d9468;
    --calnative-btn-hover-text: #1a1a1a;
    --calnative-font:           inherit;
    --calnative-radius:         8px;
    --calnative-max-width:      520px;
}

/* Update hardcoded divider colours for dark background */
.calnative-booking-widget .calnative-host,
.calnative-booking-widget .calnative-dayslots-cal {
    border-color: #2e2e2e;
}

.calnative-booking-widget .calnative-field input,
.calnative-booking-widget .calnative-field textarea {
    border-bottom-color: #3c3c3c;
}
Enter this into the Custom CSS field at Settings → CalNative Booking → Styling and it applies immediately — no file editing, no child theme required.